

If you’ve ever spent time (and money) on a fresh gel manicure only to see it start lifting at the edges within days, you’re not alone. As a professional nail technician with over 10 years behind the table, I’ve seen gel polish peeling frustrate beginners and seasoned clients alike.
The truth? Gel peeling is almost never “bad luck.” It’s usually a small prep or application mistake that compounds over time. The good news is that once you understand why it happens, fixing it is surprisingly straightforward.
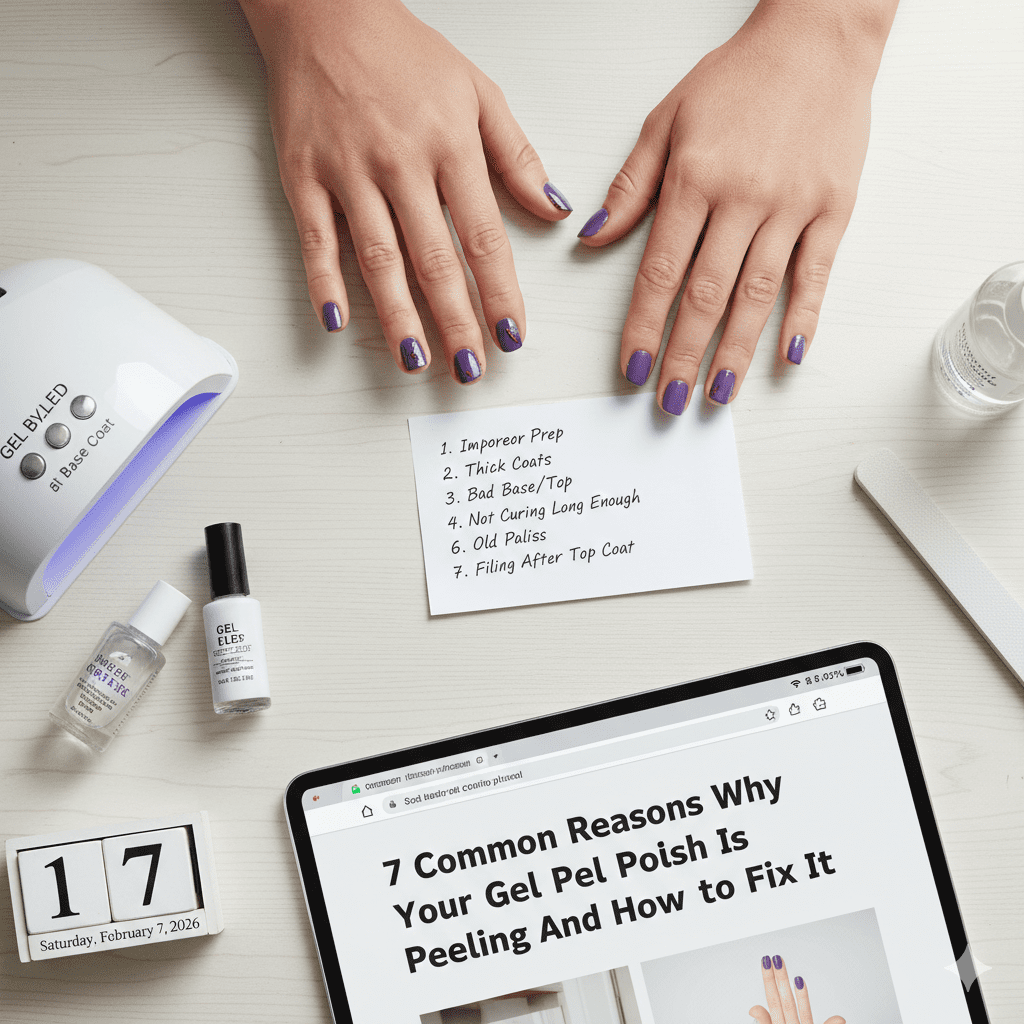
Let’s break down the seven most common reasons gel polish peels and exactly how to stop it for good.
1. Improper Nail Prep (The #1 Cause of Gel Polish Peeling)
Gel polish needs a clean, dry, slightly textured surface to grip. When prep is rushed or skipped, peeling is almost guaranteed.
What Goes Wrong
- Natural oils remain on the nail plate
- Cuticle residue blocks adhesion
- The nail surface is too smooth
How to Fix It
- Gently push back cuticles and remove invisible cuticle film
- Lightly buff the nail with a 180–240 grit file (no shine left)
- Clean nails with 90–99% isopropyl alcohol, not remover
Pro Insight: I can tell within seconds if a nail wasn’t prepped properly just by how the gel lifts clean sheets of peeling almost always mean oil contamination.
2. Skipping or Misusing a Base Coat
Not all base coats are created equal, and skipping one entirely is a fast track to gel polish peeling.
Common Base Coat Mistakes
- Applying base coat too thick
- Using a base coat incompatible with your gel brand
- Forgetting to cap the free edge
How to Fix It
- Use a thin, scrubbed-in layer of base coat
- Stick to the same brand system when possible
- Seal the tip with every layer (base included)
Nail Tech Tip: If clients complain about peeling at the tips, 80% of the time the free edge wasn’t sealed properly.
3. Flooded Cuticles and Sidewalls
Gel that touches skin will lift every single time.
Why This Causes Peeling
Gel polish cures hard. When it bonds to skin instead of nail, movement causes lifting, which spreads underneath the manicure.
How to Fix It
- Apply polish 1–2 mm away from the cuticle
- Use a thin liner brush to clean edges before curing
- Cure each layer fully before moving on
Reality Check: Perfect cuticle application takes practice. Slow down speed causes peeling.
4. Over-Buffing or Under-Buffing the Nail Plate
Both extremes sabotage adhesion.
Over-Buffing Problems
- Thins the nail plate
- Creates weak, flexible nails that reject gel
Under-Buffing Problems
- Leaves a shiny surface gel can’t adhere to
The Sweet Spot
- Use light pressure
- Remove shine only do not thin the nail
- One gentle pass per area is enough
Experience Note: I’ve seen clients damage their nails more with buffers than files. Buffing should feel controlled, not aggressive.
5. Incorrect Curing (Lamp Matters More Than You Think)
A weak or incompatible lamp is a silent cause of gel polish peeling.
Common Curing Issues
- Using a lamp not designed for your gel brand
- Old or weak LED bulbs
- Not curing long enough
How to Fix It
- Match your lamp to your gel system when possible
- Cure each layer for the full recommended time
- Replace lamps every 2–3 years with regular use
Pro Tip: If gel peels but never chips, it’s often under-cured not badly applied.
6. Applying Gel Too Thick
Thick layers look smooth but cure unevenly.
Why Thick Layers Peel
- The top cures, the inside stays soft
- Soft gel shrinks and pulls away from the nail
How to Fix It
- Apply multiple thin layers instead of fewer thick ones
- Each layer should look slightly sheer before curing
- Flash cure darker colors if needed
Salon Rule: If you think the layer is thin enough, make it thinner.
7. Daily Habits That Break the Gel Bond
Even a perfect manicure can fail if daily habits work against it.
Habits That Cause Gel Polish Peeling
- Using nails as tools
- Excessive water exposure
- Skipping cuticle oil
- Cleaning without gloves
How to Protect Your Manicure
- Wear gloves for dishes and cleaning
- Apply cuticle oil daily (yes, daily)
- Avoid picking or peeling lifted edges
Truth From the Chair: Nails are jewels, not tools and gel rewards gentle hands.
Step-by-Step: How to Prevent Gel Polish Peeling Every Time
Follow this exact order for best results:
- Push back cuticles and remove cuticle film
- Lightly buff to remove shine
- Clean with alcohol
- Apply thin base coat and cure
- Apply 2–3 thin color layers, curing each
- Seal the free edge with every layer
- Apply top coat and cure fully
- Finish with cuticle oil
Save this checklist it works.
Pro-Tip Section: Nail Tech Secrets Clients Don’t Hear
- Dehydrators matter more than primers for oily nails
- Matte nails adhere better than glossy ones
- Gel peeling usually starts underneath not on top
- Consistency beats expensive products every time
If I had to fix just one thing for most people? Better prep and thinner layers.
Common Mistakes to Avoid
Avoid these if you want long-lasting gel:
- Skipping cuticle removal
- Touching nails after prep
- Mixing brands randomly
- Rushing curing times
- Peeling gel off intentionally
Every one of these shortens wear time dramatically.
Final Thought: You’re Not Bad at Gel You Just Needed Better Info
Gel polish peeling doesn’t mean gel “doesn’t work for you.” It means something small in the process needs adjusting. Once those tweaks are in place, gel can last 2–3 flawless weeks easily.
If your gel polish keeps peeling, which issue do you think is causing it prep, application, or daily habits?