

If you’ve just removed acrylics and your nails feel paper-thin, bendy, or painfully sensitive—you’re not imagining it. Over the last decade, I’ve seen hundreds of clients panic after acrylic removal, convinced their nails are “permanently damaged.”
The good news? They’re not.
The bad news? Most people make recovery mistakes that slow healing by months.
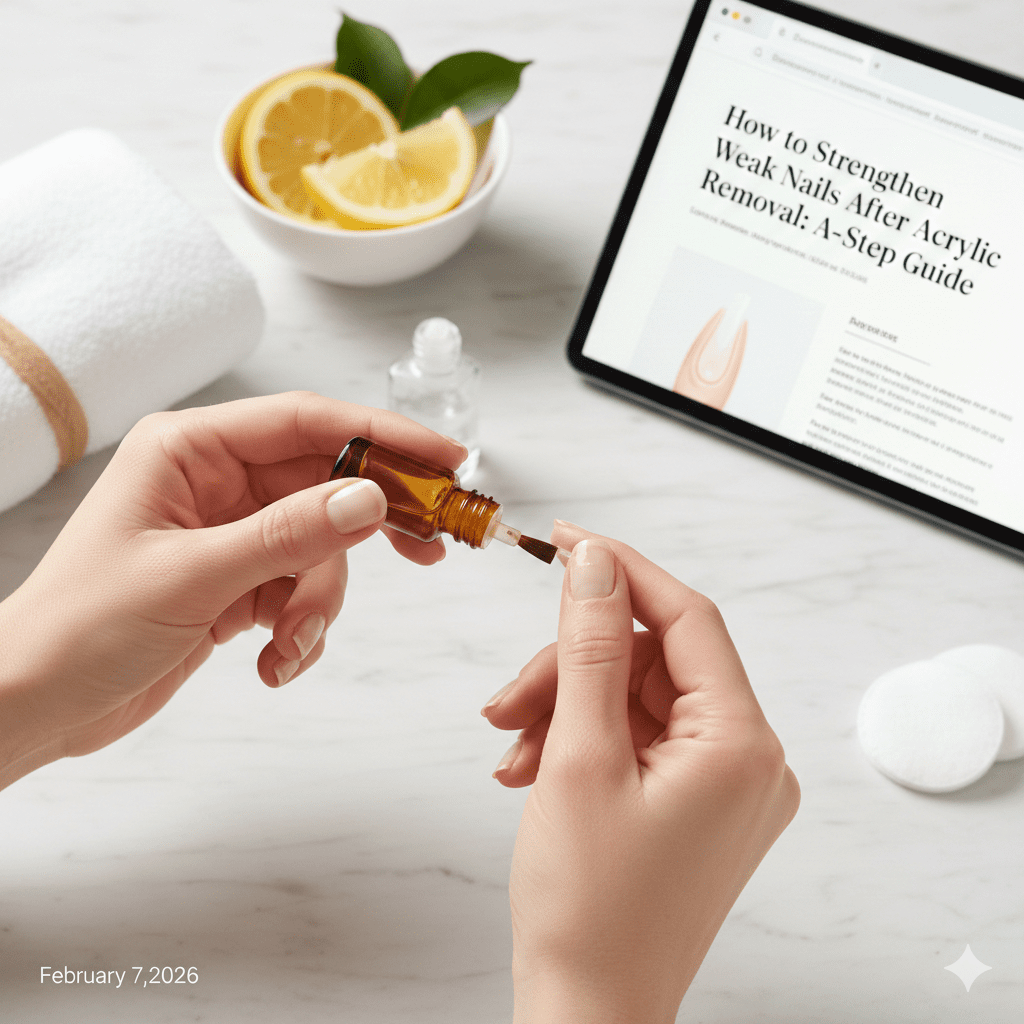
This guide will show you exactly how to strengthen weak nails after acrylic removal, using techniques I personally recommend in my salon—no gimmicks, no unrealistic promises, just real recovery.
Why Acrylic Removal Weakens Nails (What’s Really Happening)
Acrylics themselves don’t destroy nails—improper application, over-filing, and forceful removal do.
The Science Behind Weak Nails
Your natural nail plate is made of layers of keratin, similar to shingles on a roof. When acrylics are drilled or pried off incorrectly, those layers are stripped away.
This leads to:
- Peeling and splitting
- Extreme flexibility (“bend like plastic”)
- White patches or rough texture
- Sensitivity to water and pressure
👉 Important: Nails don’t “breathe.” Recovery depends on protecting keratin layers, not exposing them.
How Long Nail Recovery Actually Takes
This is where many blogs mislead readers.
Realistic Nail Growth Timeline
- Fingernails grow 2–3 mm per month
- Full nail replacement takes 4–6 months
- Visible strength improvement starts at 2–3 weeks with proper care
Consistency matters more than products.
Step-by-Step Guide to Strengthen Weak Nails After Acrylic Removal
Step 1: Stop All Aggressive Filing Immediately
Right after acrylic removal, your nails are in a fragile state.
What to do instead:
- Use a 240–320 grit file only
- File in one direction, never back and forth
- Keep nails short for 2–4 weeks
💡 Short nails reduce leverage, preventing painful breaks.
Step 2: Hydration Is Non-Negotiable
Weak nails are dehydrated nails.
What I Tell My Clients
Apply cuticle oil 3–4 times daily, even if it feels excessive.
Look for oils containing:
- Jojoba (closest to natural sebum)
- Vitamin E
- Sweet almond oil
🚫 Skip mineral oil—it seals but doesn’t penetrate.
Step 3: Use a Treatment Base Coat (Not Regular Polish)
Most people grab the wrong product here.
What Actually Works
Choose a repair-focused base coat, not a “hardener.”
Best ingredients:
- Keratin amino acids
- Biotin (in small doses)
- Calcium (only if nails are peeling, not flexible)
⚠️ Avoid formaldehyde-based hardeners—they make nails hard but brittle.
Step 4: Create a Water Barrier
Water is the #1 enemy of weak nails.
Pro Salon Rule
- Wear gloves for dishes and cleaning
- Apply hand cream before showering
- Never soak nails “to strengthen them” (myth!)
Nails absorb up to 30% of their weight in water, causing layers to separate.
Step 5: Gentle Buffing (Once a Month Max)
Buffing can help—but only if done correctly.
Safe Buffing Guidelines
- Use a soft buffer (240–400 grit)
- Light pressure only
- Once every 3–4 weeks, never weekly
Buffing smooths peeling layers, but overdoing it thins nails further.
Pro-Tip: The 14-Day Nail Reset Method
This is a system I use for post-acrylic clients who want fast results.
Week 1
- Short nails
- Cuticle oil 4× daily
- Repair base coat (reapply every 3 days)
Week 2
- Light shaping only
- Continue oil routine
- Optional sheer strengthening polish
✨ Most clients see less peeling and 30–40% strength improvement by day 14.
Common Mistakes to Avoid (These Ruin Recovery)
🚫 Using Hard Gel or Acrylic “Just for Protection”
This traps damage underneath and delays healing.
🚫 Overusing Nail Hardeners
Hard nails break harder. Flexibility = strength.
🚫 Picking or Peeling Polish
This removes keratin layers with it.
🚫 Ignoring Nutrition
Topicals help, but nails are built from inside.
Nutrition That Actually Helps Weak Nails
Forget miracle supplements.
Nail-Supporting Nutrients
- Protein: nails are keratin
- Biotin: helps thickness (deficiency matters more than mega-doses)
- Iron: low iron = weak, ridged nails
- Omega-3s: improve flexibility
🥗 Real food works better than pills unless you’re deficient.
Should You Take a Break From All Nail Products?
This depends on nail condition.
My Professional Advice
- Peeling nails: Use protective base coats
- Paper-thin nails: Light polish is safer than bare
- Sensitive nails: Avoid gel for 6–8 weeks
Bare nails aren’t always better—protected nails heal faster.
When to See a Professional
If you experience:
- Nail pain lasting longer than 3 weeks
- Yellowing or green discoloration
- Nails lifting from the nail bed
These may indicate infection or severe plate damage, not normal post-acrylic weakness.
How Long Until You Can Wear Acrylics Again?
I recommend waiting at least 8–12 weeks.
When nails are ready:
- No peeling at free edge
- Minimal bending under pressure
- Smooth surface without white patches
Rushing back is the fastest way to restart the damage cycle.
Final Thought: Weak Nails Are Temporary Bad Habits Aren’t
I’ve watched clients go from damaged, painful nails to strong, glossy natural nails simply by changing how they care for them after acrylic removal.
Recovery isn’t about buying more products—it’s about using the right ones, at the right time, in the right way.
💬 Have you recently removed acrylics? What’s the biggest issue you’re dealing with right now—peeling, bending, or breakage?