

You finish your manicure, your nails look perfect—and then snap. One cracked nail right across the stress point. 😩
As a professional nail technician with over 10 years behind the table, I’ve seen hundreds of clients panic over a single cracked nail, especially right before an event. The good news? With the right DIY nail glue fixes, you can safely repair a cracked nail at home without causing long-term damage.
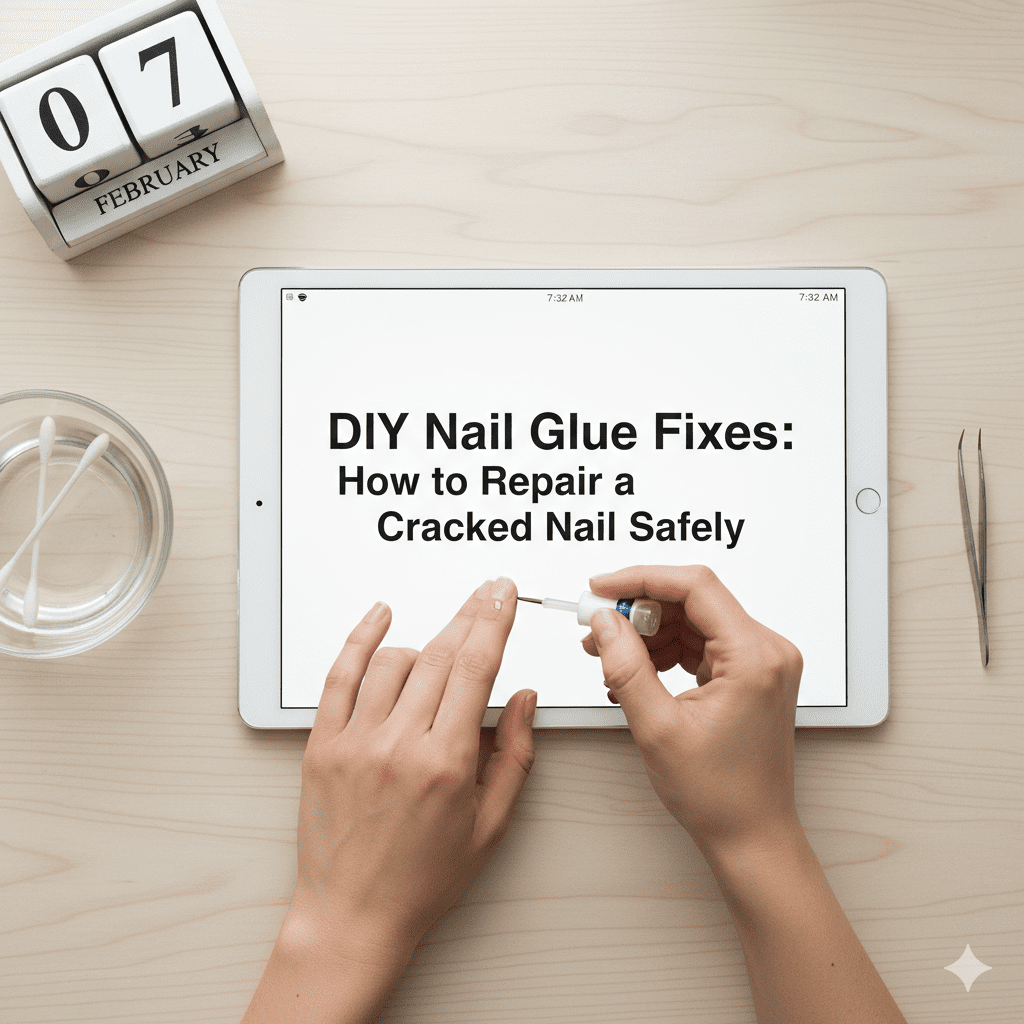
In February, the cold air and indoor heating strip moisture from your nails faster than any other month. This makes cracks more likely. If you’re fixing a crack today, double your cuticle oil application for the next 48 hours to prevent the rest of your nails from snapping.
This guide isn’t about shortcuts that ruin your nails later. It’s about safe, salon-approved repair methods that actually work.
What Causes Nails to Crack in the First Place?
Before fixing the problem, you need to understand why it happened.
The Most Common Causes of Nail Cracks
- Dehydrated natural nails
- Repeated water exposure (washing, cleaning, swimming)
- Impact stress at the free edge
- Thin nails after gel or acrylic removal
- Using nails as tools (keys, cans, boxes)
Pro insight: Most cracks happen at the “stress zone,” where the nail bends the most.
Can You Really Fix a Cracked Nail with Nail Glue?
Yes—but only if the crack is minor to moderate.
Nail Glue Works Best When:
- The crack hasn’t reached the nail bed
- There’s no bleeding or pain
- The nail is otherwise healthy
- You need a short- to medium-term fix
Nail Glue Is NOT Enough If:
- The crack extends into the pink nail bed
- The nail is splitting vertically
- You feel pain or sensitivity
In those cases, trimming and professional care are safer.
What Type of Nail Glue Should You Use?
Not all nail glues are equal—and this matters.
Best Nail Glue for DIY Nail Repairs
Look for:
- Cyanoacrylate-based nail glue (salon standard)
- Fast-drying, thin consistency
- Brush-on formulas for control
Avoid:
- Super glue meant for crafts or plastic
- Thick gel-style adhesives
- Old or stringy glue (it won’t bond properly)
Editor tip: If the glue smells extremely strong, it’s usually too harsh for natural nails.
Step-by-Step: DIY Nail Glue Fix for a Cracked Nail
This is the exact method I teach clients who can’t come into the salon right away.
What You’ll Need
- Nail glue
- Fine-grit nail file (240–320 grit)
- Tea bag or silk wrap (optional but recommended)
- Small scissors
- Clean alcohol or nail cleanser
- Cuticle pusher or orange stick
Step 1: Clean and Dehydrate the Nail
Remove all polish. Clean the nail with alcohol to remove oils.
💡 Why this matters: Glue bonds poorly to oily nails.
Step 2: Gently Align the Crack
If the nail has separated, gently press it back into place.
Do not force it. The edges should meet naturally.
Step 3: Apply a Thin Layer of Nail Glue
Use a very small amount of glue directly over the crack.
Less is more—thick layers cause lumps and weak spots.
Step 4: Reinforce with Tea Bag or Silk (Pro Move)
Cut a tiny strip of tea bag or silk wrap slightly larger than the crack.
- Place it over the glue
- Press down gently
- Apply another thin layer of nail glue
This acts like a cast for your nail.
Step 5: Let It Fully Dry
Wait at least 2–3 minutes. No touching, no blowing.
Rushing this step is the #1 reason DIY nail glue fixes fail.
Step 6: Smooth and Shape
Lightly file the surface to smooth edges.
Do not over-file—you’re blending, not thinning the nail.
Step 7: Seal and Protect
Apply:
- One strengthening base coat
- Your polish (optional)
- A flexible top coat
Pro Tip: How Long This Fix Actually Lasts
A proper DIY nail glue fix can last:
- 3–5 days for active hands
- Up to 7 days with careful wear
This is a temporary repair, not a permanent solution.
Common Mistakes to Avoid (This Is Where Most People Mess Up)
Even good glue won’t save you if you do these things:
- ❌ Using too much nail glue
- ❌ Skipping reinforcement material
- ❌ Filing aggressively over the crack
- ❌ Applying gel polish directly over a fresh repair
- ❌ Leaving the nail long after fixing it
Reality check: Long nails + cracks = guaranteed re-break.
Should You Cut the Nail Short After Repairing It?
Yes—almost always.
Why Shorter Nails Heal Better
- Less leverage on the crack
- Reduced daily stress
- Lower risk of infection
I tell clients: “Short now saves length later.”
Nail Glue vs Builder Gel: What’s Better for Cracks?
If you have both options, here’s the honest breakdown:
Nail Glue
- Faster
- Easier for beginners
- Best for emergency repairs
Builder Gel
- Stronger long-term support
- Requires lamp and skill
- Better for repeated cracks
For true DIY situations, nail glue wins.
How to Prevent Nail Cracks After the Fix
Repairing is only half the job.
Nail Care Habits That Actually Work
- Apply cuticle oil daily (non-negotiable)
- Wear gloves for cleaning
- Avoid acetone-heavy removers
- Keep nails softly rounded
- Use strengthening base coats—not hardeners
Pro insight: Brittle nails crack more than soft ones.
When You Should See a Nail Professional
DIY nail glue fixes are great—but know your limits.
Seek professional help if:
- The crack keeps returning
- The nail feels painful
- You see discoloration
- The nail splits vertically
Ignoring these signs can lead to long-term nail damage.
Final Thoughts from the Nail Desk
Cracked nails are frustrating—but they don’t have to ruin your manicure or your natural nail health. With the right DIY nail glue fixes, patience, and proper reinforcement, you can safely buy yourself time until your next trim or salon visit.
✨ Strong nails aren’t about perfection—they’re about smart care.
Have you ever tried fixing a cracked nail at home? What worked—and what didn’t? I’d love to hear your experience. 💅