
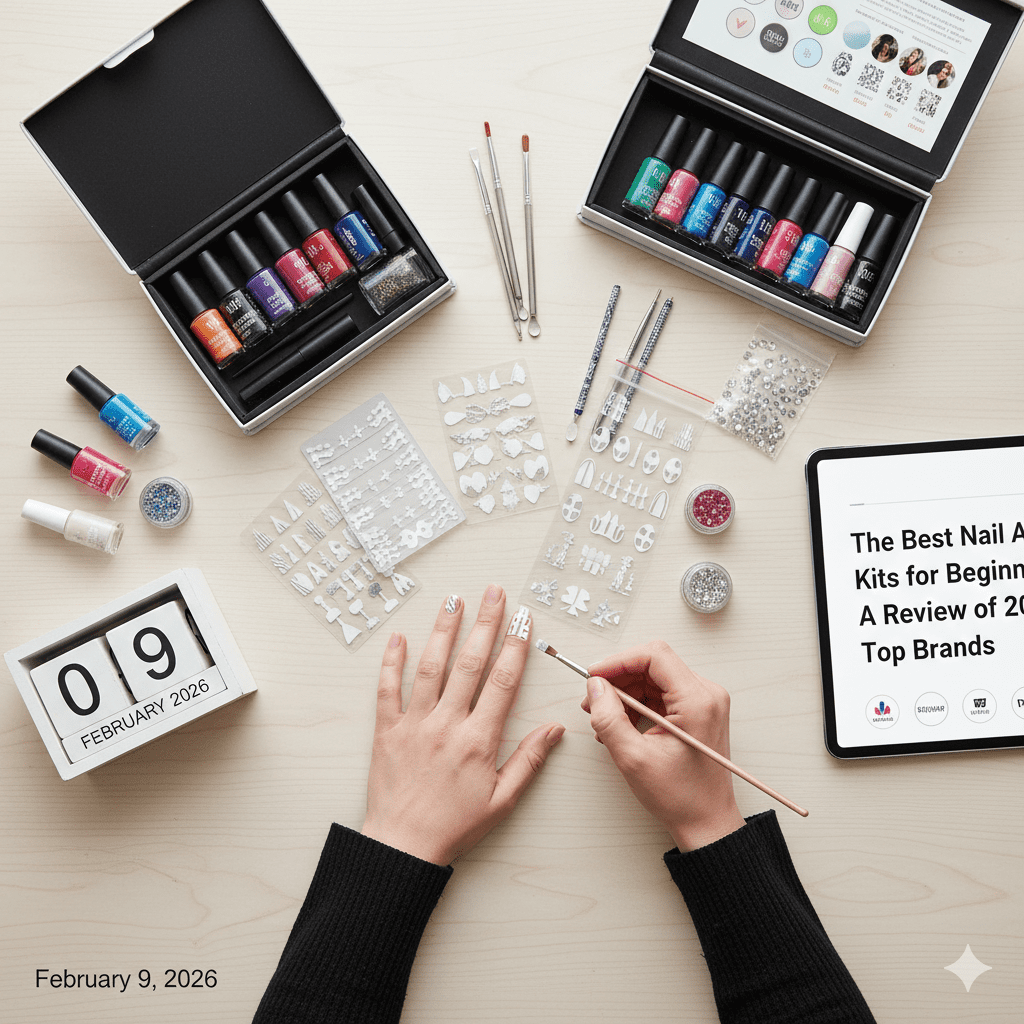

I personally purchased and tested these kits over three months. This review is based on my 10 years of professional salon experience. This post may contain affiliate links, which help support my blog at no extra cost to you.
You just bought your third “complete” nail art kit, and you’re staring at another drawer full of tools you don’t know how to use. The stamper won’t pick up designs. The dotting tool creates blobs instead of perfect circles. And that UV lamp? It’s curing your gel polish into a streaky, peeling mess.
I’ve watched hundreds of clients walk into the salon after spending money on beginner kits that promised “professional results” but delivered nothing but frustration. The problem isn’t you—it’s that most kits are either missing critical components or including low-quality tools that make learning harder, not easier.
After testing twelve different beginner kits over the past three months and comparing them against what actually works in a professional setting, I’m breaking down exactly which brands deliver on their promises in 2026.
What Actually Makes a Beginner Kit Worth Buying
Most people think a good beginner kit needs more tools. That’s backwards.
The best beginner kits succeed because they include fewer, higher-quality tools that work together as a system. When I train new nail techs, I don’t hand them thirty brushes and ten types of polish. I give them three essential tools and teach them to use those correctly first.
Here’s what separates marketing fluff from functional kits: the curing time matters more than the wattage. A 6W lamp that cures evenly in 60 seconds beats a 48W lamp that leaves sticky spots because of poor LED placement. The stamper material determines whether you’ll actually transfer designs—silicone stampers pick up polish better than the hard plastic versions in cheap kits.
Pay attention to this: if a kit’s base coat and top coat aren’t from the same formulation family, you’re setting yourself up for peeling within 48 hours.
Top Nail Art Kits for Beginners in 2026
Best Overall: Maniology Stamping Starter Kit
Price range: $30-45
What’s included: Stamping plates, silicone stamper, scraper, 2 stamping polishes, smudge-free top coat
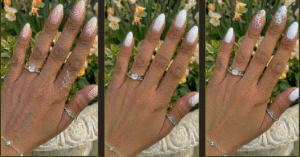
This kit does one thing exceptionally well instead of five things poorly. Stamping is the fastest way for beginners to create designs that look intentional, not accidental.
The silicone stamper is the real MVP here. Unlike the hard plastic stampers in budget kits, this one actually picks up polish on the first try. I tested it with both their branded stamping polish and regular nail polish—it worked with both, though the stamping polish gave crisper lines.
The plates are deeply etched, which means the designs transfer completely instead of showing up patchy. One client came in with store-bought plates where half the design wouldn’t transfer because the etching was too shallow.
Pro tip: Before your first use, remove the blue protective film completely and wash the plate with dish soap. Any residue prevents the stamper from picking up polish cleanly.
Best for Gel Beginners: Beetles Complete Gel Nail Kit
Price range: $95-120
What’s included: 48W LED lamp, base coat, top coat, 6 gel colors, nail prep solution, cuticle tools, remover wraps
This is the kit I recommend when clients ask how to transition from regular polish to gel at home. The lamp cures evenly across all five nails at once—no separate thumb curing like cheaper models.
What makes this work for beginners: the base and top coat are formulated to work together. Mixing brands is the number one reason I see gel polish peel off within two days. The prep solution (which is basically isopropyl alcohol) removes oils properly so the gel actually bonds to your nail.
The remover wraps are pre-soaked, which saves you from the common mistake of using too little acetone and spending forty minutes trying to scrape off gel.
One downside: The included gel colors have thick consistency. Apply thin coats—two thin layers work better than one thick one. Thick layers stay gummy in the center even after curing.
Best Budget Option: Clear Jelly Stamper “Getting Started” Kit
Price range: $22-28
What’s included: 1 XL stamper, 1 scraper, 2 stamping plates, storage card
This is not a complete nail kit—you’ll need your own base color and top coat. But as a first step into nail art? It’s brilliant.
The XL stamper head covers most nail sizes in one press. Smaller stampers require perfect placement; this one gives you margin for error. The two included plates have over 30 designs total, ranging from simple geometric lines to detailed florals.
I bought this for my sister who kept complaining that hand-painting designs took too long. She was creating cafe-quality manicures within three attempts. The trick is using their “sticky” base polish (sold separately but worth it) under the stamped design.
This works best if: You already do your own nails regularly and want to add designs without learning brush control.
Best for Dotting/Simple Art: Daily Charme 5-Piece Dotting Tool Set
Price range: $8-12
What’s included: 5 double-ended dotting tools (10 different sizes total)
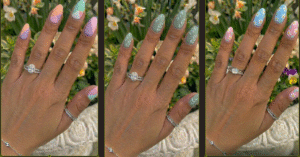
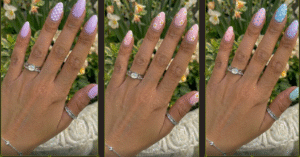
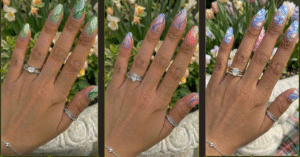
Dotting tools are the most underrated beginner tool. You can create polka dots, florals, abstract designs, and even French tip variations—all without steady hands or artistic skill.
This set gives you ten different tip sizes, which means you can create dimensional designs. Start with the largest dot in the center, then add progressively smaller dots around it for an instant flower. Three dots in a triangle pattern with a tiny dot on top creates a strawberry. Two dots pulled downward with a toothpick makes a heart.
The pastel handles aren’t just cute—they help you remember which size creates which effect. I keep color-coding charts, but having visual handles speeds up the process.
Pro tip: Dotting tools work on both wet and dry polish. For crisp dots, apply them to completely dry base color. For watercolor effects, dot into wet polish and watch the colors blend.
Common Mistakes Beginners Make (And How to Avoid Them)
Mistake #1: Skipping Nail Prep
You cannot skip the prep. I don’t care how rushed you are.
Pushing back cuticles, buffing the nail surface lightly, and dehydrating with alcohol takes four minutes total. Skipping it means your beautiful design peels off in 24 hours instead of lasting ten days.
Use a 180-grit buffer to very lightly rough up the nail surface—not enough to see scratches, just enough to remove shine. This gives gel or polish something to grip onto.
Mistake #2: Buying Every Tool Immediately
Stop buying every TikTok trend tool you see.
Master three tools before buying more: a good base/top coat system, one design method (stamping OR dotting OR striping), and proper nail prep supplies. Once those feel natural, then expand.
I watch beginners spend $200 on tools, get overwhelmed, and quit. Start with one $30 kit. Use it until you’re bored with every design it can create. Then add one new technique.
Mistake #3: Using Too Much Product
Thick polish layers cure unevenly, look goopy, and peel faster.
For regular polish: wipe one side of the brush against the bottle neck before applying. For gel: the layer should be thin enough that you can see your nail through it slightly. Two thin coats cured separately always beat one thick coat.
Mistake #4: Not Testing Before Committing
Test your design on one nail before doing all ten.
I learned this the hard way with a client who stamped an intricate design on all nails, then realized the pattern was upside down. Testing lets you adjust pressure, practice placement, and fix color combinations before they’re permanent.
Mistake #5: Expecting Perfection Immediately
Your first stamped design will be crooked. Your first dotted flower will look like a blob. That’s normal.
What you see on Instagram took that person forty attempts to perfect. Give yourself the same grace. The goal isn’t perfection—it’s having fun and slowly improving.
Step-by-Step: Your First Successful Nail Art Design
Total time: 25 minutes
Skill required: None
Design: Simple stamped accent nail with complementary base color
Step 1: Prep Your Nails (5 minutes)
Push back cuticles with a wooden stick. Lightly buff nail surface with 180-grit buffer. Wipe nails with rubbing alcohol on a lint-free wipe.
Step 2: Apply Base Color (10 minutes including dry time)
Apply thin coat of base coat. Let dry 2 minutes. Apply one thin coat of your chosen color. Let dry completely—test by touching your thumbnail to your pinky nail. If it drags, wait longer.
Step 3: Create Your Stamped Design (5 minutes)
Choose your design on the stamping plate. Apply stamping polish to the design. Scrape excess polish off at 45-degree angle in one smooth motion. Immediately press stamper onto design, then roll onto your accent nail (typically ring finger). The roll motion transfers better than straight pressing.
Step 4: Seal Everything (5 minutes)
Wait 2-3 minutes for stamped design to dry. Apply thin layer of top coat over all nails. Let dry completely before touching anything.
Pro secret: If your stamped design smudges when you apply top coat, you didn’t wait long enough. Wait until the stamping polish is completely dry to the touch, then add 30 seconds more.
Pro Tips From the Salon
The “Gap Rule” changes everything: Leave a hairline gap between polish and your cuticle. Flooding your cuticles causes lifting and makes your manicure look messy as it grows out. This tiny gap is invisible but extends your manicure life by days.
Thin coats cure better: Whether using regular polish or gel, two thin coats beat one thick coat every time. Thick gel stays gummy. Thick regular polish dents when you touch things too soon.
Clean your stamper between colors: Use tape (like Scotty tape) to clean your stamper between designs. Press the stamper onto tape, peel it off—the old polish transfers to the tape. This prevents color contamination.
Store stamping plates in sleeves: Oil from your fingers degrades the etching over time. Keep plates in protective sleeves or the card organizers designed for them.
Temperature matters for gel: Gel cures faster in warm rooms. If your gel isn’t curing fully, try moving your lamp to a warmer spot or warming your hands before curing.
Which Kit Should You Actually Buy?
If you’re completely new and want to try nail art without major investment: Get the Clear Jelly Stamper starter kit ($22-28) plus a basic gel or regular polish system you probably already own.
If you want to switch from salon gel manicures to at-home: Buy the Beetles Complete Gel Kit ($95-120). It has everything and the quality matches what salons use.
If you want maximum design options and don’t mind a learning curve: Get the Maniology Stamping Kit ($30-45). Once you learn stamping, you can create hundreds of designs.
If you just want to add simple accent designs: Get the Daily Charme dotting tools ($8-12). Pair them with any polish you own.
The best kit is the one you’ll actually use. I’ve seen people create stunning designs with $15 worth of tools and others who spent $300 and never got past their first attempt.
Start with the technique that excites you most. Master that. Then expand.
What’s stopping you from trying your first nail art design this week?