


If you’ve ever tried creating stripes on your nails and ended up with uneven, messy lines, you’re not alone.
Over my 10 years as a Nail Technician, I’ve seen countless clients struggle with getting perfectly precise stripes without spending hours or hiring a pro.
The truth is, power stripe designs are all about technique, layering, and the right tools, not fancy nail art pens. Done right, they turn your manicure into an It-girl moment — Instagram-ready in minutes.
This month, I’m sharing the top 5 stripe designs you can master at home, along with pro tips, common mistakes, and a step-by-step approach.
Why Power Stripes Are the “It-Girl” Nail Trend
Power stripes are:
- Bold without being overpowering
- Versatile for work, brunch, or parties
- Easy to customize with colors, textures, and finishes
The beauty? They’re easy to do at home with minimal tools, yet look runway-ready.
Top 5 Power Stripe Designs
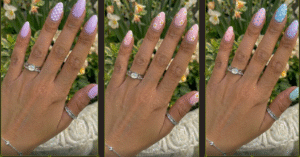
1. The Minimalist Vertical Stripe
Perfect for elongating short nails or adding subtle sophistication.
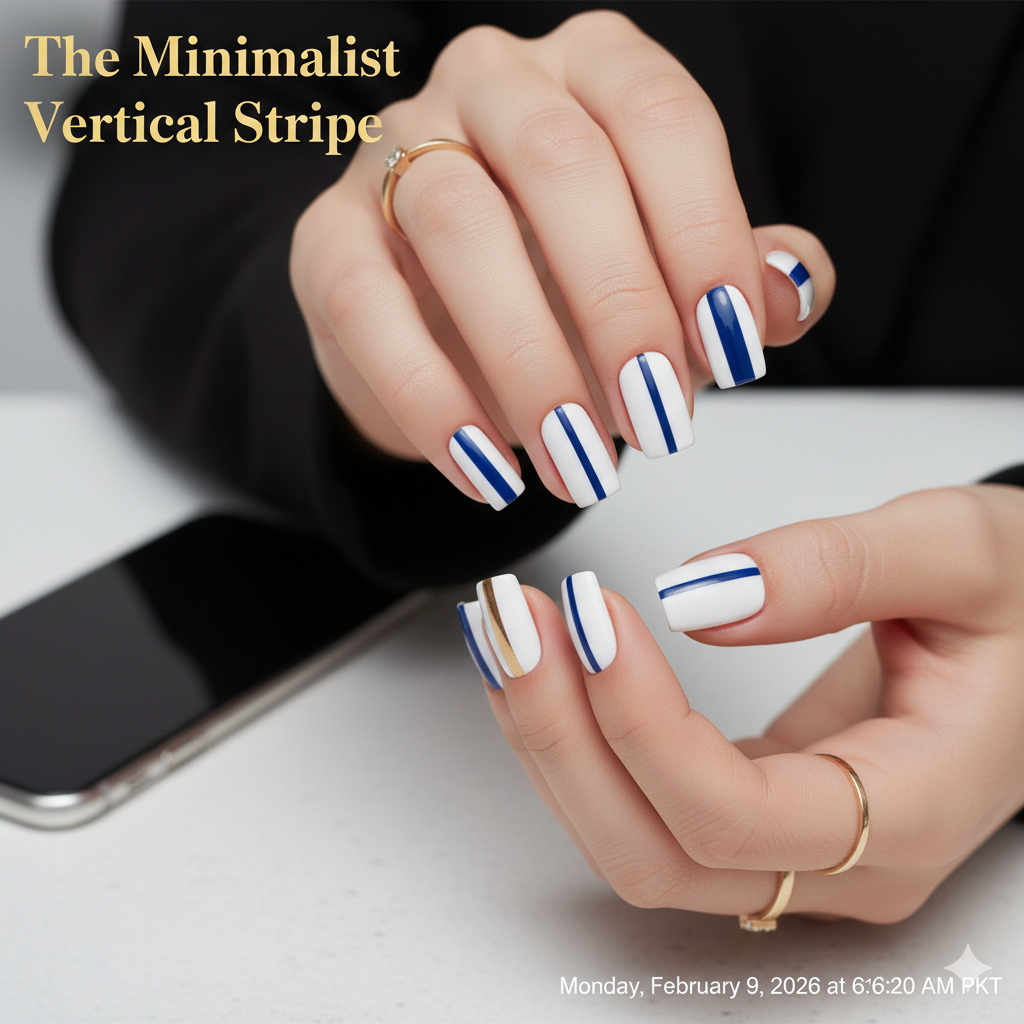
Pro Technique:
- Stick to 1–2 stripes per nail
- Use contrasting colors for maximum impact
Step-by-Step:
- Apply a base color and let it dry fully
- Use a thin nail art brush to paint a single vertical stripe down the center
- Seal with a glossy top coat
Pro Tip:
Use a striping tape if your brush isn’t steady — it guarantees a crisp line.
2. Diagonal Power Stripe
This design adds movement and drama without looking chaotic.
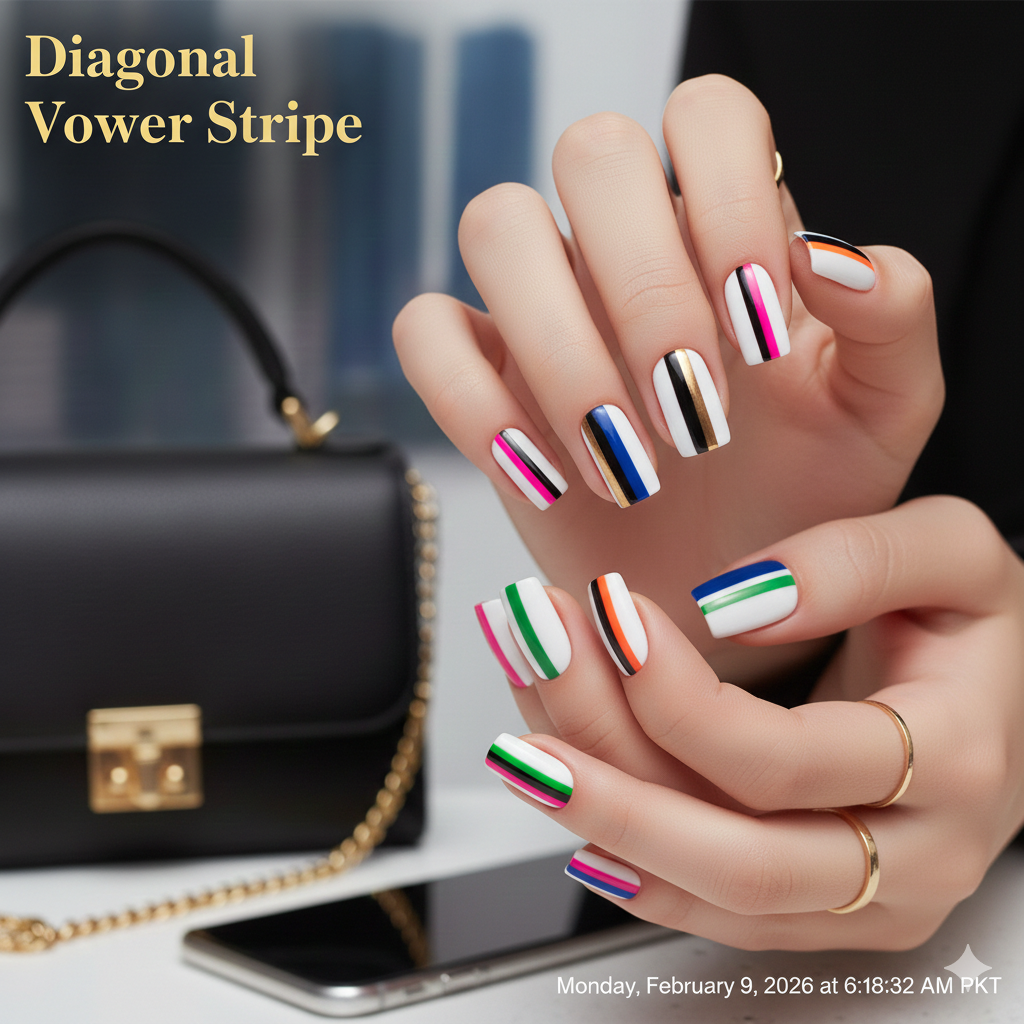
Step-by-Step:
- Choose 2 complementary colors
- Apply base color and let dry
- Use striping tape at a 45-degree angle
- Paint the second color over the exposed area
- Remove tape before fully dry
Pro Tip:
Wipe the brush on a paper towel to avoid streaks — this keeps lines sharp.
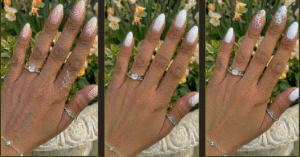
3. Metallic Accent Stripe
Metallics turn any basic stripe into a statement manicure.
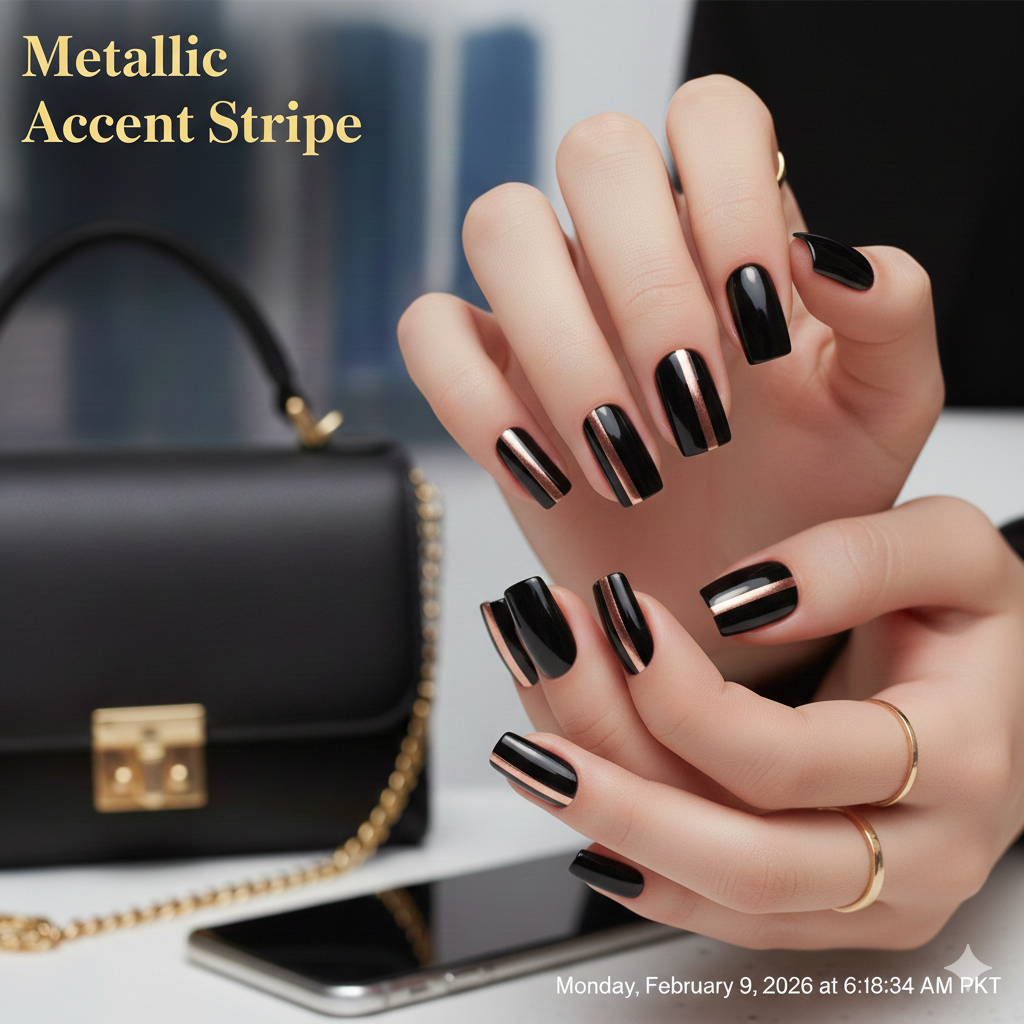
Step-by-Step:
- Apply your base color and cure if using gel polish
- Use metallic polish and a thin brush for a single accent stripe
- Finish with a high-gloss top coat
Pro Tip:
Metallic polish can be streaky. Apply in short, even strokes, and always seal to prevent tarnish.
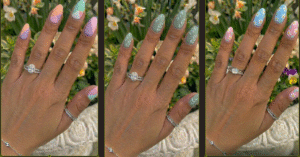
4. Layered Rainbow Stripes
For an eye-catching, playful look that’s perfect for spring or summer.
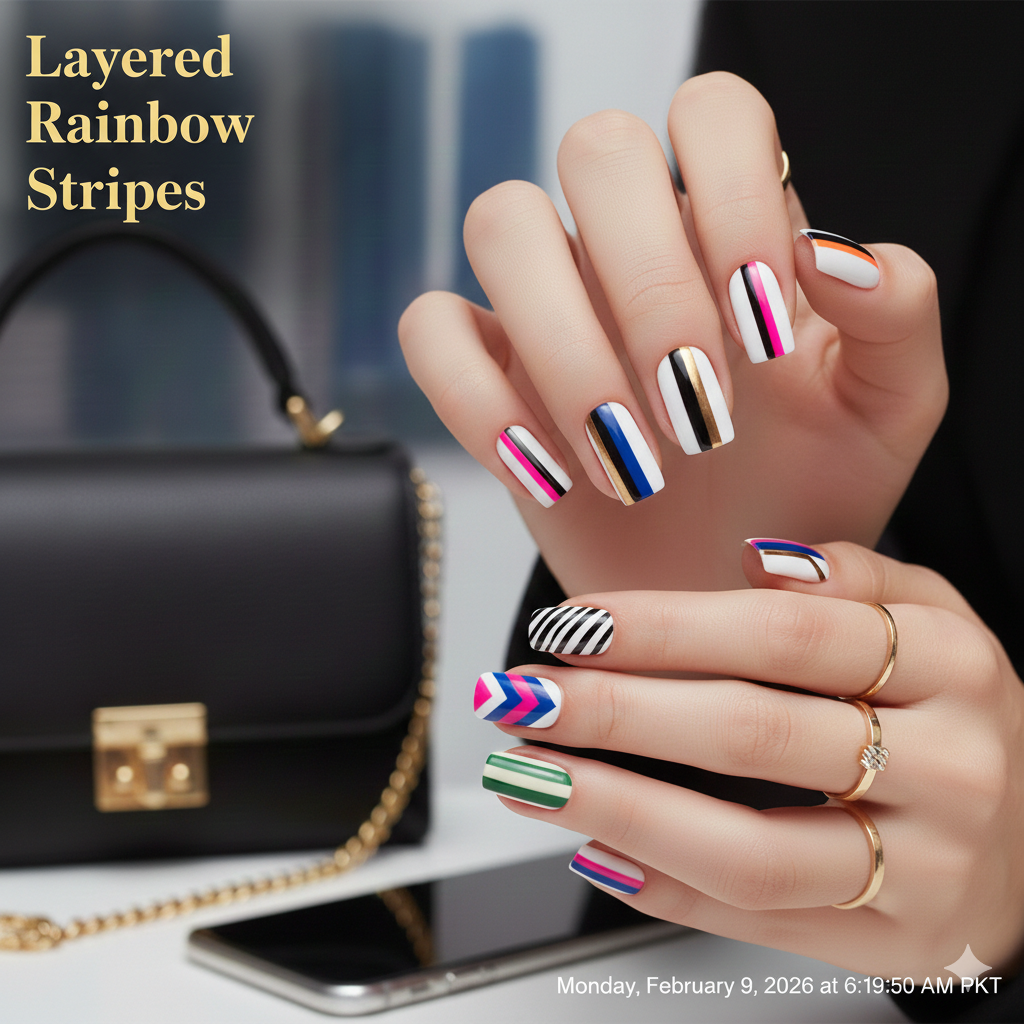
Step-by-Step:
- Paint nails in a neutral base
- Use a thin brush to create multiple parallel stripes in different colors
- Keep stripes evenly spaced
- Seal with a matte or glossy top coat depending on your vibe
Pro Tip:
Use a toothpick for mini stripes on smaller nails — it gives precision without expensive tools.
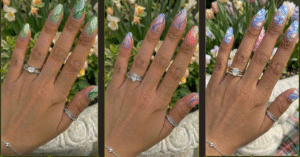
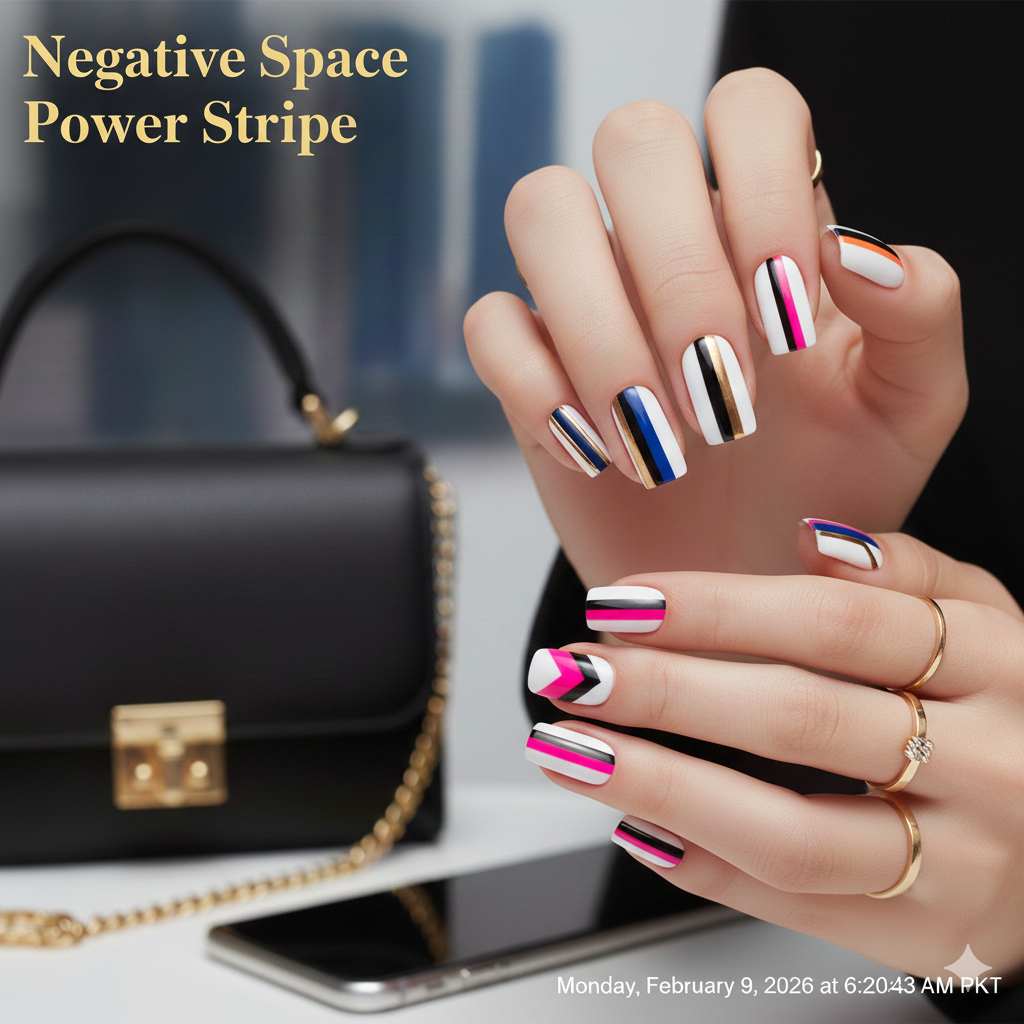
5. Negative Space Power Stripe
A chic design that uses the nail as part of the art.
Step-by-Step:
- Apply base coat only on the cuticle area
- Use striping tape to mark off negative space
- Paint the exposed area with your chosen color
- Remove tape before the polish dries
Pro Tip:
Negative space stripes are forgiving. Even slightly uneven tape placement adds a modern, edgy feel.
Pro-Tips for Mastering Stripe Designs
- Thin Layers Only: Thick polish = streaks and smudges
- Quality Striping Tape: Dollar store tape works, but painter’s tape holds better for metallics
- Use a Fast-Drying Top Coat: Locks in stripes without dragging colors
- Plan Your Stripe Placement: Test on a nail wheel first to see how colors interact
Common Mistakes to Avoid
- Painting stripes immediately after base coat — always let it dry
- Using too much polish on the brush — leads to blobs
- Pulling tape too early — causes smudges
- Ignoring nail prep — uneven surfaces make perfect stripes impossible
- Overcomplicating with too many colors — sometimes less is more
Step-By-Step Guide: Tools You Really Need
| Tool | Why It Matters | Budget Hack |
| Thin Nail Art Brush | Precision for stripes | Use a clean eyeliner brush |
| Striping Tape | Straight lines without freehand skill | Washi tape or painter’s tape works |
| Base & Top Coat | Smooth canvas & seal polish | Generic drugstore brands work fine |
| Metallic/Colored Polish | Creates standout stripes | Dollar-store polishes can be layered |
| Nail Wheel or Practice Strip | Test colors and placement | Cardstock strips cut to size |
How to Make Your Stripes Last
Even the most precise stripes chip fast if neglected. Follow these tips:
- Always cap the free edge with top coat
- Avoid hot water for the first 2 hours
- Reapply top coat every 2–3 days for gel-like longevity
- Wear gloves for chores to protect design
Nail Health Tips From a Pro
Stripes pop on healthy nails:
- File, don’t clip brittle nails
- Massage cuticles nightly with coconut or almond oil
- Give nails a polish-free day between designs
- Avoid harsh acetone removal — use gentle polish remover
Final Thought: Own Your Power Stripe Look
Mastering power stripes isn’t about perfection. It’s about confidence, creativity, and technique.
With the right tools, steady hand, and these insider tips, your manicure can turn heads and last for days.
💬 Which stripe design are you most excited to try first — minimalist, metallic, or rainbow layers?