

If hand cream alone worked, every client would walk into my salon with baby-soft skin.
After 10 years as a professional nail technician, I’ve seen countless people complain that no lotion seems to absorb especially after frequent handwashing or gel removal.
In February, the humidity drops to its lowest point of the year. If your hands are currently cracking or bleeding, skip the scrub for 48 hours and use a thick ointment first. Once the skin has closed, then use this sugar scrub to prevent future flaking.
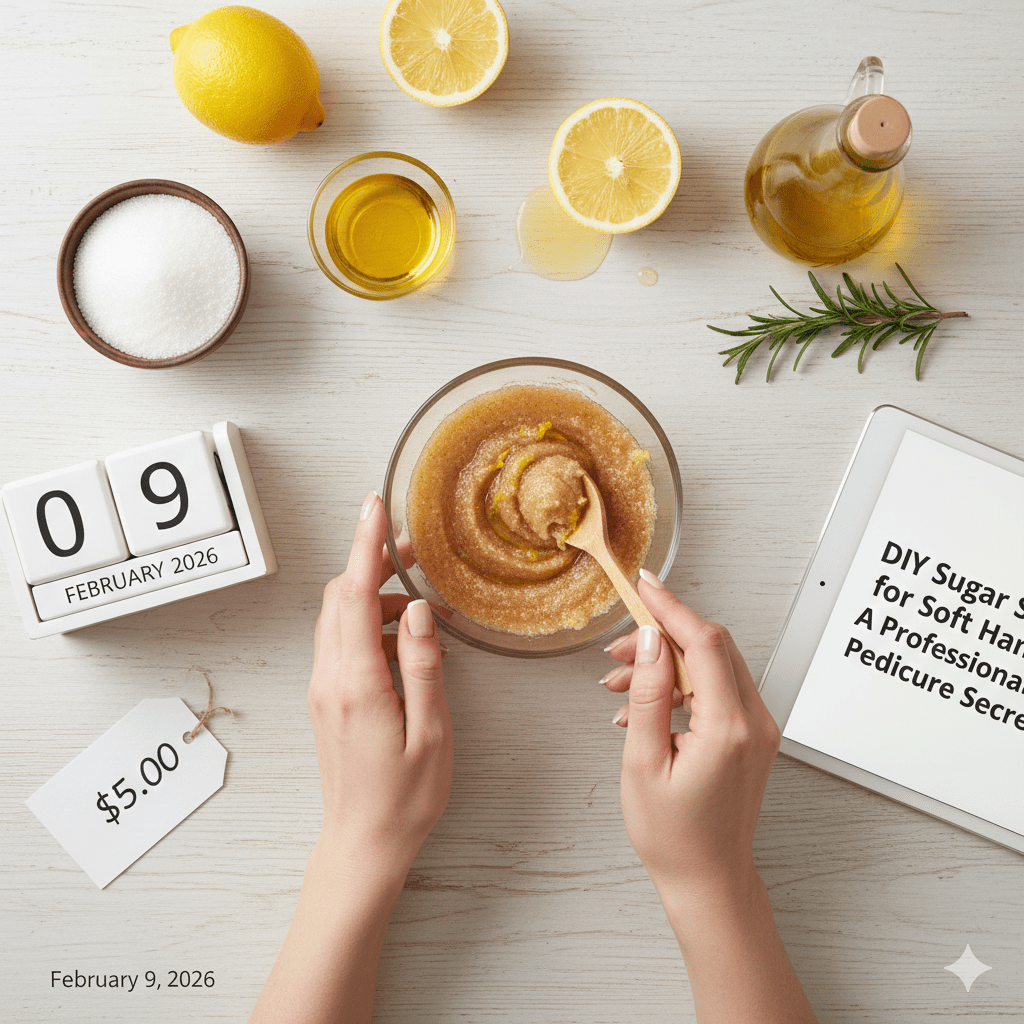
The missing step is gentle exfoliation. A DIY sugar scrub for soft hands is one of the simplest, most effective pedicure secrets we use in salons and it costs less than a cup of coffee.
Why Sugar Scrubs Work Better Than You Think
Sugar isn’t just abrasive. It’s a natural humectant, meaning it draws moisture into the skin while exfoliating.
Unlike salt scrubs, sugar dissolves as you massage, which makes it safe for hands, cuticles, and even sensitive skin when used correctly.
This is why professionals prefer sugar scrubs during manicures and pedicures.
The Professional Difference: Salon Scrub vs DIY Sugar Scrub
In salons, we use branded scrubs but the active ingredients are shockingly simple:
- Sugar for exfoliation
- Oil for slip and moisture
- Optional scent or essential oil
A well-made DIY sugar scrub for soft hands performs just as well if you know the right ratios.
Step-by-Step: Professional DIY Sugar Scrub Recipe
What You’ll Need (All Budget-Friendly)
- 2 tablespoons white or brown sugar
- 1 tablespoon oil (olive, coconut, or sweet almond)
- Optional: 2–3 drops essential oil (lavender or lemon)
That’s it. No preservatives. No fillers.
Step 1: Choose the Right Sugar (This Matters)
Not all sugar exfoliates the same.
- White sugar = finer, best for sensitive hands
- Brown sugar = gentler and more moisturizing
For first-time users, I recommend brown sugar.
Step 2: Pick the Correct Oil for Your Skin Type
This is where most DIY guides get lazy.
- Dry skin → olive or avocado oil
- Normal skin → coconut oil
- Oily skin → grapeseed or sunflower oil
Using the wrong oil can leave hands greasy instead of soft.
Step 3: Mix to the “Wet Sand” Texture
The scrub should feel like damp beach sand not watery, not crumbly.
If it drips, add sugar.
If it scratches, add oil.
This texture ensures even exfoliation without micro-tears.
How to Use a DIY Sugar Scrub Like a Professional
Step 1: Start With Clean, Damp Hands
Never scrub dry skin.
Damp hands allow sugar to glide instead of scratch a small detail that makes a huge difference.
Step 2: Massage Using Controlled Pressure
Use circular motions and light pressure.
Focus on:
- Knuckles
- Cuticle area
- Sides of fingers
Avoid aggressive scrubbing exfoliation should polish, not punish, the skin.
Step 3: Rinse With Lukewarm Water
Hot water strips oils and cancels out the benefits.
After rinsing, gently pat your hands dry and don’t rub.
Step 4: Seal With Moisture Immediately
Apply hand cream or cuticle oil while skin is still slightly damp.
This locks in hydration and delivers that post-pedicure softness clients love.
Pro Tips I’ve Learned From the Salon Floor
Pro Tip #1: Use Scrub Before Cuticle Care
Exfoliating first softens dead skin around the cuticle, making pushing safer and cleaner.
This reduces hangnails and peeling.
Pro Tip #2: Add Honey for Extra Softness
One drop of raw honey boosts hydration and antibacterial benefits perfect for cracked hands.
This is a trick I use in winter pedicures.
Pro Tip #3: Warm the Scrub Slightly (Optional)
Warming the oil slightly (not hot) increases absorption and feels incredibly luxurious.
Clients always notice this difference.
Common Mistakes to Avoid With DIY Sugar Scrubs
These mistakes are why some people think scrubs “don’t work”:
- Scrubbing too often (2–3 times per week max)
- Using salt instead of sugar on hands
- Applying scrub on broken or irritated skin
- Skipping moisturizer afterward
- Storing scrub with water inside the container
Fix these, and results improve immediately.
How Often Should You Use a Sugar Scrub?
For most people:
- Normal skin → 2 times per week
- Very dry skin → 1–2 times per week
- Sensitive skin → once weekly
More is not better. Over-exfoliation causes roughness, not softness.
Why This Works Better Than Store-Bought Scrubs
Here’s the honest truth from a beauty editor:
Many commercial scrubs contain:
- Plastic exfoliants
- Excess fragrance
- Drying alcohols
A DIY sugar scrub for soft hands gives you full ingredient control which is why professionals trust it during services.
Cuticle Health: The Hidden Benefit
Consistent sugar scrubbing improves:
- Cuticle flexibility
- Nail plate appearance
- Product absorption
Clients who exfoliate regularly need less cuticle trimming, which means healthier nails long-term.
How to Store Your DIY Sugar Scrub Safely
Use a dry, airtight container.
- Keep out of the shower
- Use a clean spoon or spatula
- Discard after 2–3 weeks
If it smells off, toss it fresh is always best.
Final Thought From a Nail Professional
Soft hands aren’t about expensive products they’re about smart prep and consistency.
A well-made DIY sugar scrub for soft hands is one of the simplest professional secrets you can use at home, with real, visible results.
✨ Have you tried a sugar scrub before or is rough skin your biggest struggle right now?