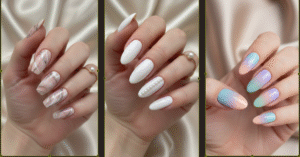


If you’ve ever tried press-on nails and thought, “These scream plastic,” you’re not imagining it.
In my 10 years as a professional nail technician, I’ve seen many clients love the idea of press-ons but hate how bulky, shiny, or obviously fake they look.
The problem isn’t press-on nails themselves. It’s how they’re made, shaped, and finished.
With the right techniques, DIY press-on nails can look so real that even nail techs do a double-take.
What Makes DIY Press-On Nails Look Real (From a Pro’s POV)
Real-looking nails have three non-negotiables:
- Proper sizing and shaping
- A thin, natural apex (not flat, not bulky)
- Matte prep with a glossy finish only on top
Most tutorials skip these details. That’s why their results look cheap.
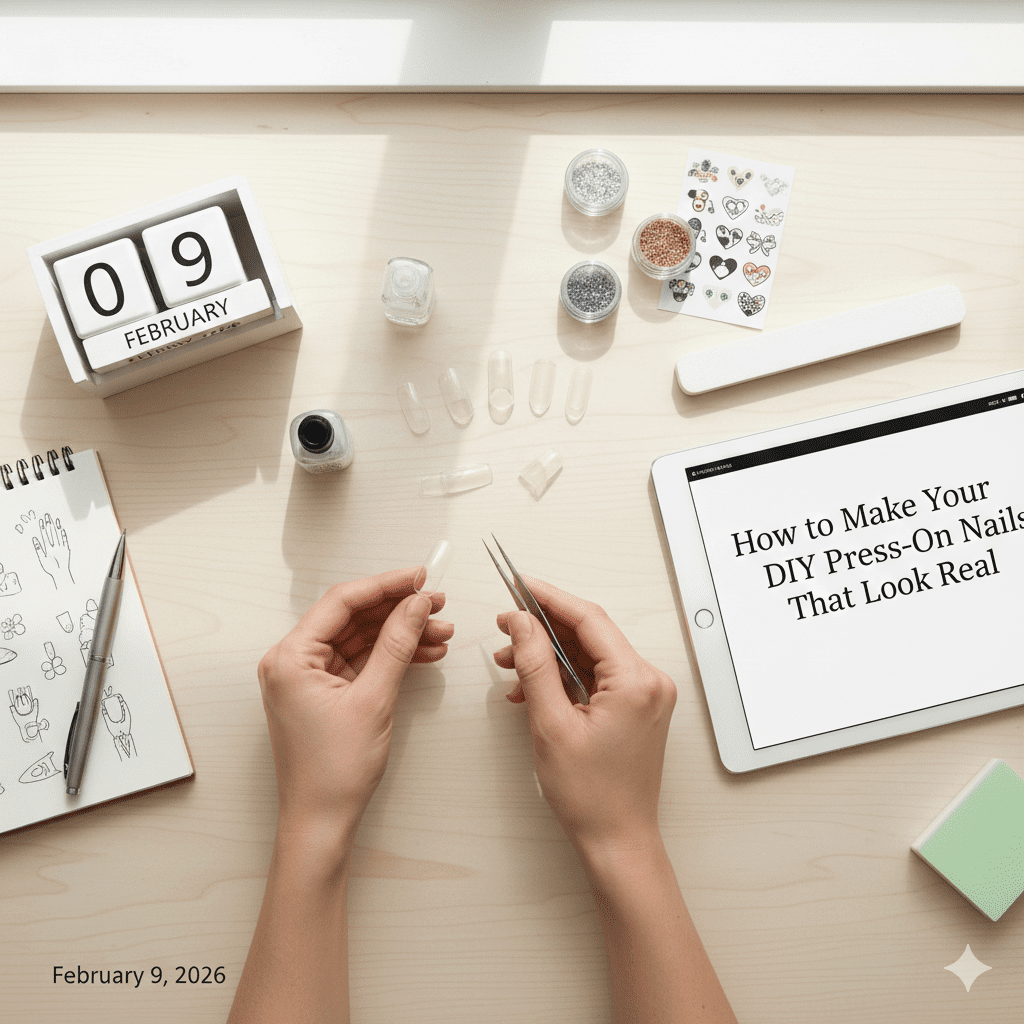
Supplies You Actually Need (No Overbuying)
You don’t need a full nail studio.
Essential Supplies Only
- Clear or natural press-on nail tips
- Nail file (180/240 grit)
- Buffer block
- Nail glue or gel glue
- Base coat, color polish, top coat
- Rubbing alcohol
Optional but helpful:
- Cuticle pusher
- Small makeup sponge (for blending color)
If you can’t justify a tool, you don’t need it.
Step-by-Step: How to Make DIY Press-On Nails That Look Real
Step 1: Size Each Nail Individually (This Matters More Than Design)
Never “force fit” a press-on.
- Each tip should sit sidewall to sidewall
- If it’s slightly too big, file it down
- Never choose a smaller size to save time
A perfect fit is what makes DIY press-on nails disappear into the nail bed.
Step 2: Shape Before You Decorate
Shaping after design ruins the illusion.
Most realistic shapes:
- Short almond
- Soft square (squoval)
- Tapered oval
File in one direction and soften sharp edges. Real nails are never razor-sharp.
Step 3: Create a Natural Apex (The Secret Nobody Talks About)
Flat nails look fake. Overbuilt nails look cheap.
Pro technique:
Lightly buff the cuticle area thinner and keep the center slightly raised.
This mimics natural nail structure and instantly upgrades your press-ons.
Step 4: Prep the Surface Like a Real Nail
Before polish:
- Lightly buff the entire surface
- Wipe with alcohol to remove dust and oils
If polish slides around, you skipped prep.
Step 5: Apply Base Coat Thin and Controlled
One thin layer only.
Start slightly away from the cuticle edge and push gently upward.
This creates that “grown-from-the-nail” look salons charge for.
Step 6: Color Application That Looks Hand-Painted
Avoid thick, opaque blobs.
- Use 2–3 thin coats
- Let each layer dry fully
- Use a small brush to clean edges
Pro trick:
For sheer or nude shades, dab polish lightly with a makeup sponge to avoid streaks.
Step 7: Seal With a Realistic Top Coat
High-gloss is realistic — overly thick is not.
- Apply one smooth layer
- Cap the free edge
- Avoid flooding the cuticle area
If it looks like glass, you nailed it.
Pro-Tips That Make DIY Press-On Nails Undetectable
Pro Tip #1: Matte Before Gloss
After shaping, lightly buff the cuticle area more than the tip.
This subtle gradient mimics real nail growth.
Pro Tip #2: Customize Length Per Finger
Your pinky should always be shorter than your middle finger.
Uniform length across all fingers is a giveaway.
Pro Tip #3: Press-On Flex Test
Bend the nail slightly between your fingers.
- Too stiff = fake-looking
- Slight flexibility = realistic wear
Common Mistakes That Ruin DIY Press-On Nails
Avoid these and your results instantly improve:
- Using press-ons straight out of the box
- Skipping cuticle thinning
- Applying polish too close to the edge
- Making all nails the same shape and length
- Overusing thick gel layers
These mistakes are why press-ons get a bad reputation.
How to Attach DIY Press-On Nails So They Stay Put (But Don’t Damage Nails)
Best Attachment Options
- Nail glue: Strong, affordable, long-lasting
- Gel glue: Best for seamless blending
Application tip:
Apply glue to both the press-on and natural nail, then press at a 45° angle and roll down.
Air bubbles = early pop-offs.
How Long DIY Press-On Nails Should Last
When done correctly:
- Nail glue: 7–10 days
- Gel glue: Up to 2 weeks
Longevity depends more on prep than products.
Safe Removal (So Your Nails Don’t Suffer)
Never rip them off.
- Soak in warm, soapy water with oil
- Gently lift from the sides
- Buff off residue lightly
Healthy natural nails are the foundation of great press-ons.
Nail Health Tips Most Press-On Guides Ignore
From years of client care:
- Oil your cuticles daily (even with press-ons on)
- Take a 2–3 day break between sets
- Keep natural nails short underneath
Press-ons shouldn’t weaken your nails — bad habits do.
Final Thought From a Nail Technician
DIY press-on nails aren’t a shortcut — they’re a skill.
When you focus on fit, shape, and subtle structure, they can look just as real as a salon set.
Once you master these techniques, people won’t ask “Are those press-ons?”
They’ll ask “Where did you get your nails done?”
💬 What’s the hardest part for you — shaping, application, or making them last?